We had taken home the box of hardware, etc that we found in the crate the day we got it. We wanted to go through it and see what was in there and what we needed to buy before heading up. Brent made a shopping run to get some things while I got some water and food together for the day.
We left Suki home for the day as the drilling rig was still going (doing the clean out and installing the casing) and we felt between the noise and all the stuff we'd be hauling down to the yurt site, it wasn't going to be a happy place for her.
Our friends, Bob and Ronnee-Sue, offered to come over and help us out. We are so very grateful for them and all of their tools they brought with them!
 | | | | | | | | | | | |
| Emptying out the yurt crate. |
|
|
|
|
|
 |
| Installing door frame. |
 |
| Stretching out some lattice. |
 |
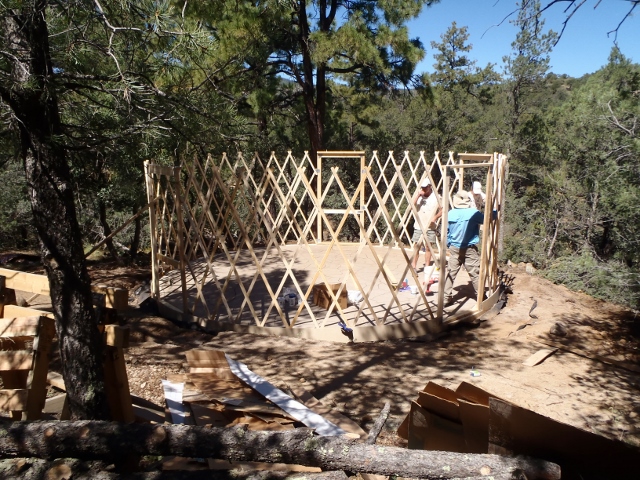
| More lattice stretching. |
|
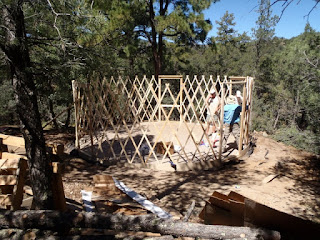 |
| All the lattice is in. |
 |
| Installing cable. |
Here Brent is installing the cable that runs through eye bolts in the window and door frames and through each "crotch" of the lattice. The rafters all have a slot cut out of the bottom and the cable goes into that slot.
 |
| Installing "keeper boards". |
 |
| Three levels of keeper boards installed. |
Keeper boards are used by Fortress Yurts to attach light weight paneling to. In their yurts, it is a standard package deal to receive the paneling. You don't see the lattice once the paneling is installed.
We did find that we should have installed the uppermost keeper board a few inches lower as it would have made putting in the screw that goes into the end of the rafters (to help hold them on the cable) much easier.
We also found that as we bought the wind/snow kit and we wanted the uprights for that kit to be hidden behind the paneling, we had to remove the keeper boards to install the wind/snow kit and then put the keeper boards back up. Kind of a pain, but the keeper boards did help really firm up the lattice prior to our installing the cable and the rafters.
 |
| Brent on scaffolding ready for the center ring and rafters. |
We rented this scaffolding to help with the yurt raising - well worth it! Our friends also brought along their 10ft ladder which we really needed also.
We happened to have a couple of 16g barrels that raised the center ring to the perfect height with a 2x4 laid flat on top. We also tied the center ring in place until we got enough rafters in to hold it without the rope assist.
 |
| Rafters |
Pins had to be tapped into the ends of the rafters. Those pins are then inserted (at the right angle or they won't go) into a hole in the center ring. We used a rubber mallet to tap the pins in.
 |
| First rafter. |
We've got enough rafters in here that the ring is held nicely.
 |
| Rafter sitting on cable over window frame. |
This picture shows the slot that the ends of the rafters have to sit on the cable. You then put a screw up through the end of the rafter, locking the cable into the slot. Every rafter sits on the cable and has it locked in place in the same way.
 |
| Center ring is filling up with rafters. |
You can see here that we had enough rafters in that the barrels and rope were removed.
 |
| Done for day 1! |
At the end of day one, we had the "bones" of the yurt done. It was a solid day's work and we were all pretty tired at the end of the day. So grateful for Bob and Ronnee-Sue's help and tools!!


No comments:
Post a Comment